Adding Map Layer From Web Mapping Service (WMS)
WMS URLs For CRC Geoservers
- https://crcgeo.soest.hawaii.edu/geoserver/ows?version=1.3.0 (SLR Viewer Layers)
- http://crc-geoserver2.soest.hawaii.edu:8600/geoserver/ows?version=1.3.0 (Historical Mosaics)
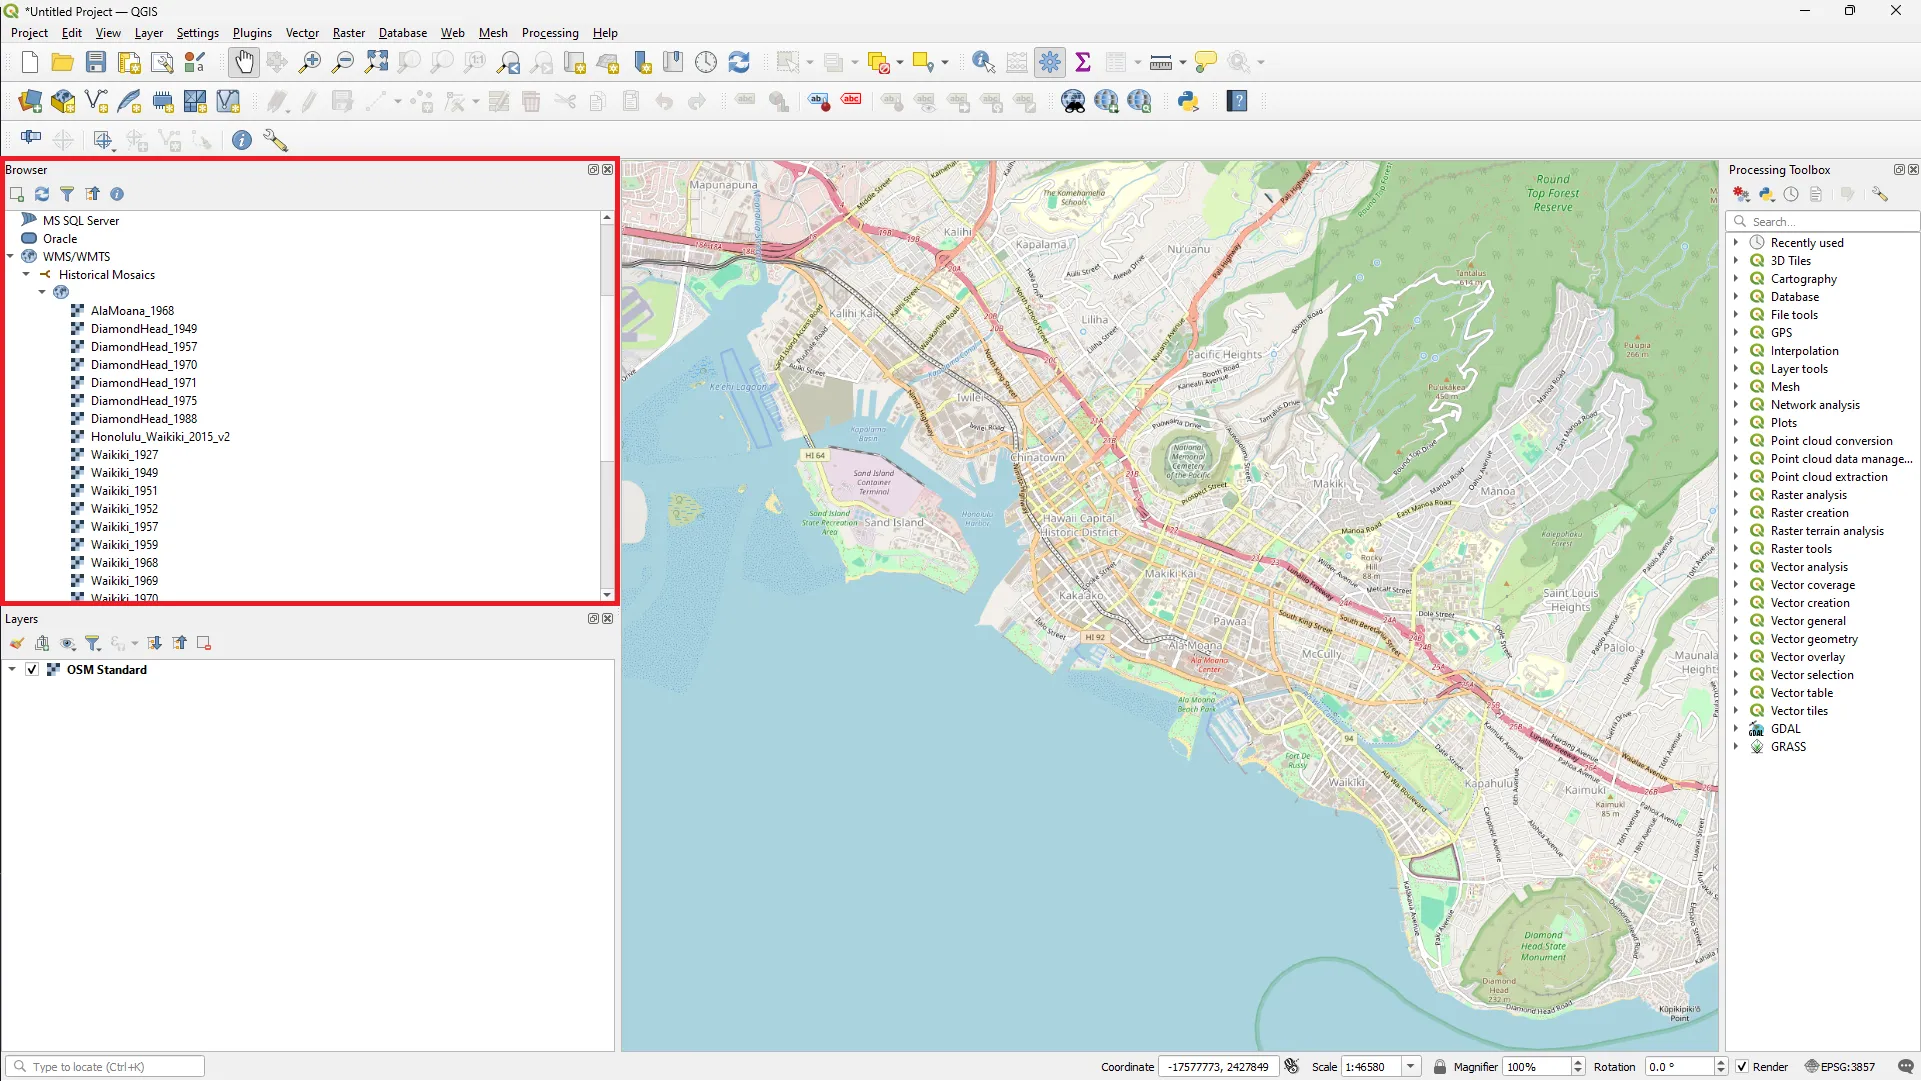
Adding WMS Connection to QGIS
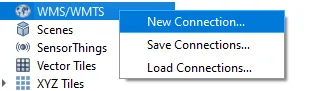
- Right click “WMS/WMTS” option in Browser Panel
- Select “New Connection…” in the right-click menu
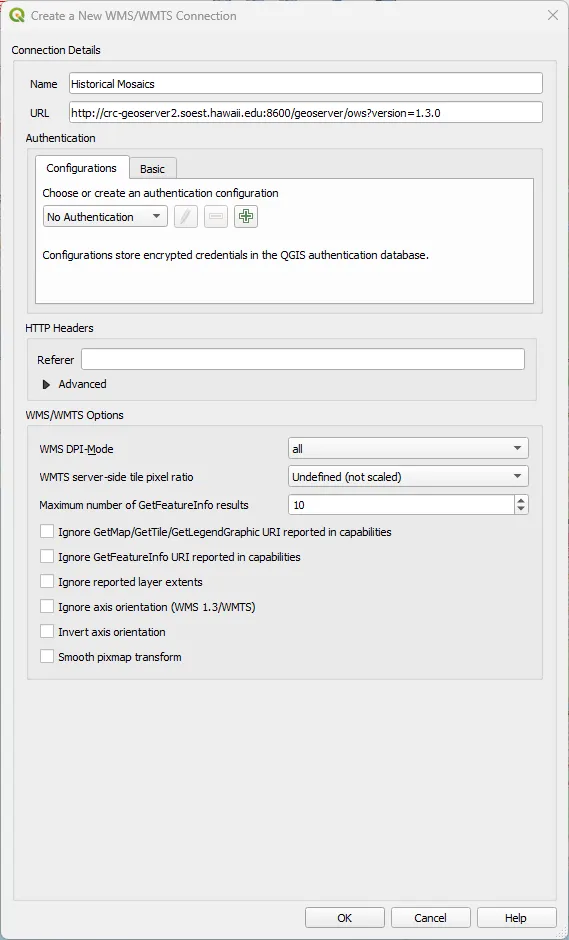
- The “Create a New WMS/WMTS Connection” Dialog will pop up
-
Enter a name in the “Name” field (Ex. crcgeo)
-
Enter the WMS Server URL in the “URL” field
-
Click “OK”
-
If the connection is successful, layers served by the Geoserver will appear under the name of the connection
-
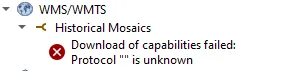
If the connection fails, you will encounter “Download of capabilities failed: …”
-
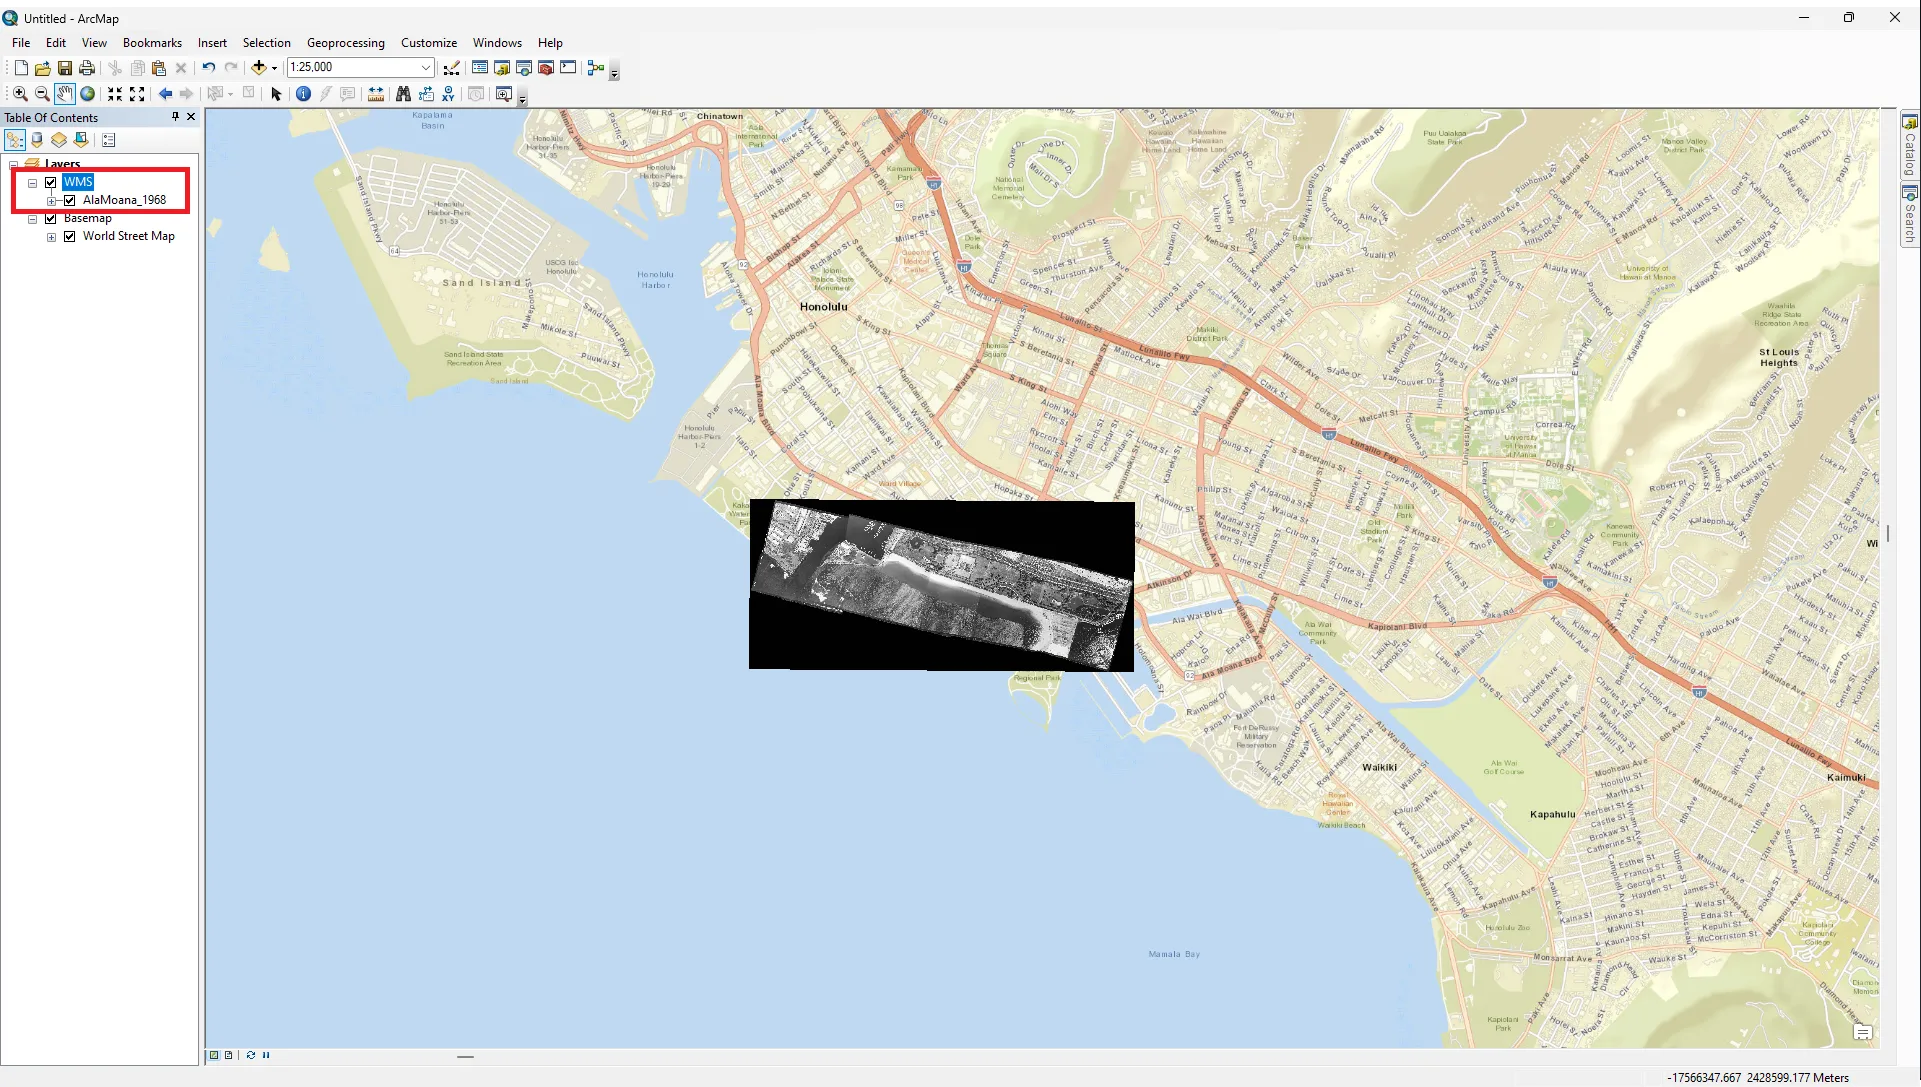
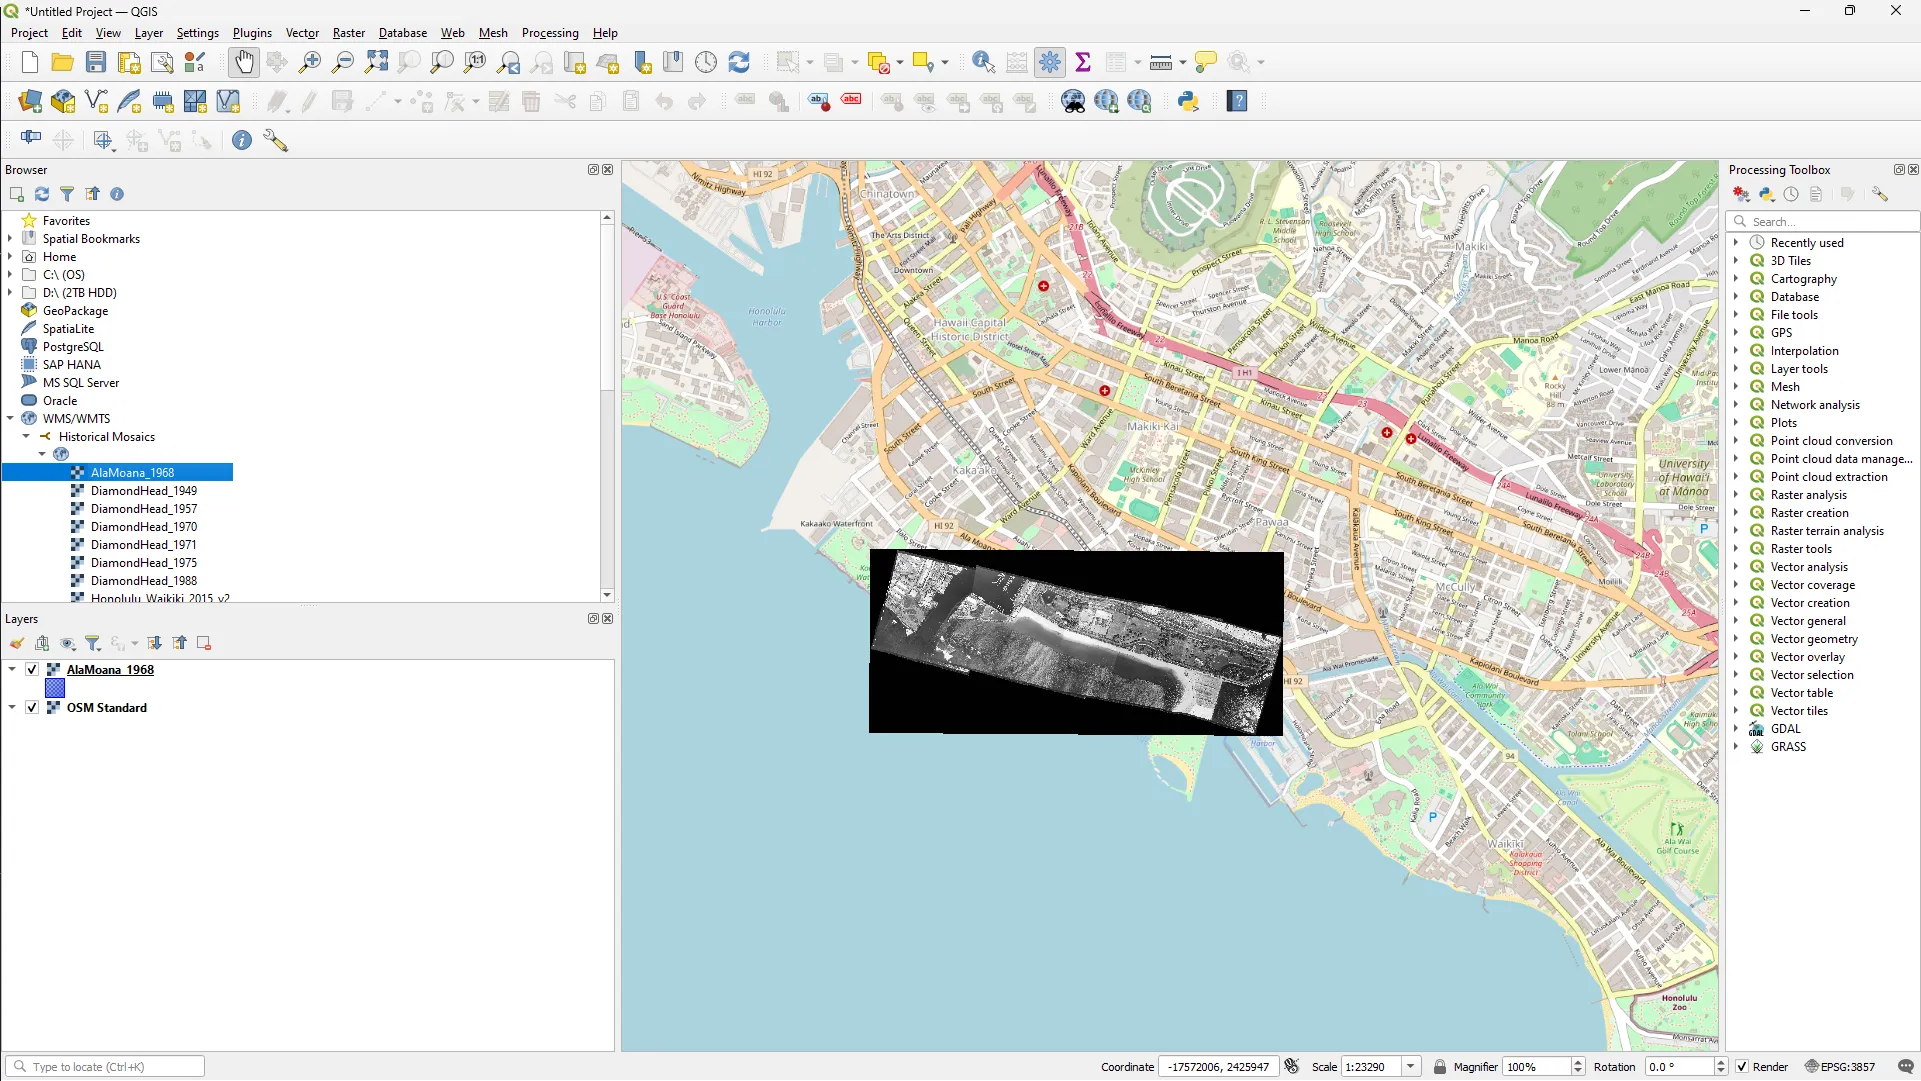
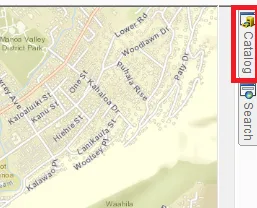
Double click any layer under your desired server and it should appear on the map
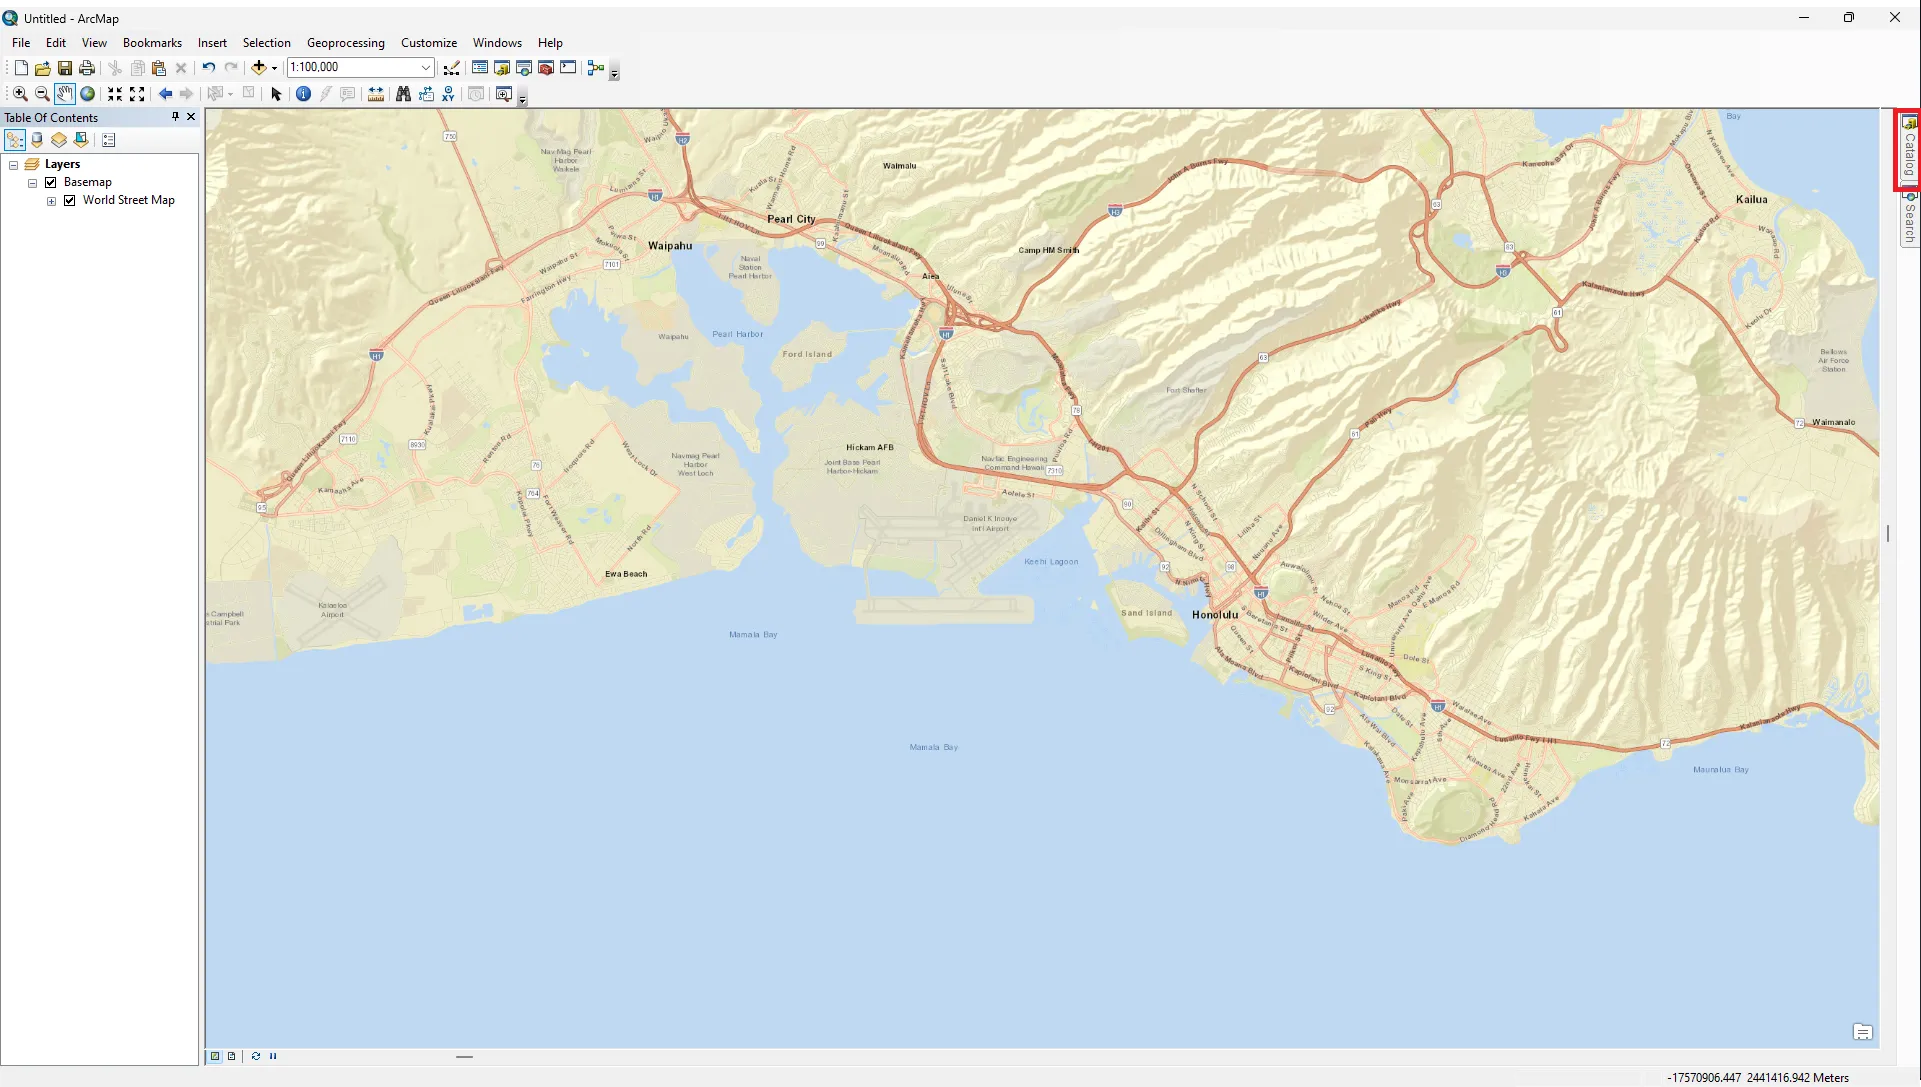
Adding WMS Connection to ArcMap Desktop
-
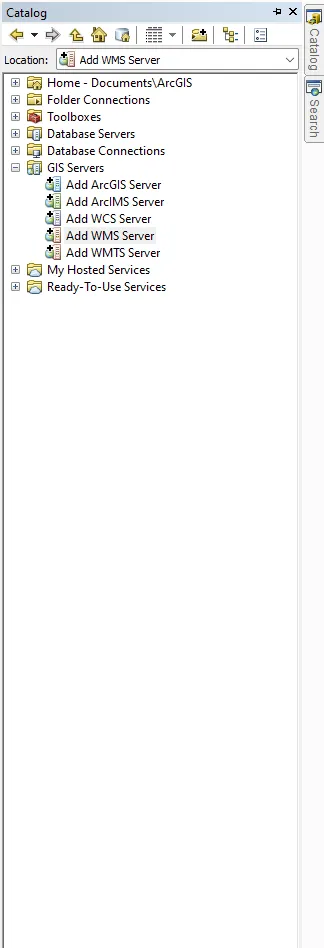
Click the “Catalog” button on the top right of ArcMap
-
In the “Catalog” pane, click add WMS Server
-
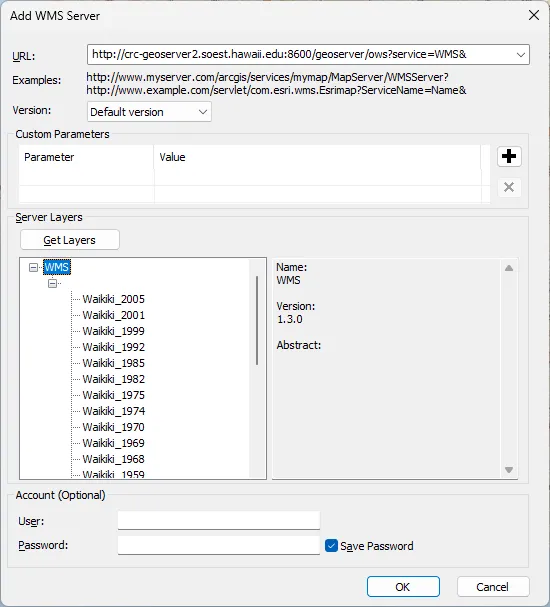
Enter the desired WMS Server URL in “URL” input box
-
Test the connection by clicking “Get Layers” button
- If connection is good, layers in geoserver will appear in “Server Layers” box
-
Click “Ok” button
-
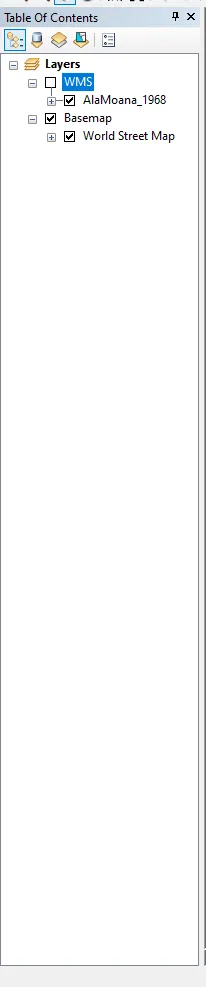
In the “Catalog” pane, expand the WMS server option that you just added until the list of layers show up
-
Drag and drop layer in “Table of Contents” for it to appear on the map